Author Identity: Experienced flooring manufacturer (specializing in engineered wood flooring) with hands-on installation expertise
Target Audience: Builders (residential, commercial, and renovation builders) looking to streamline installation, reduce labor costs, and ensure quality results for clients
Core Goal: Share manufacturer-backed DIY installation insights, highlight product-specific tips (from a maker’s perspective), and help builders adopt efficient, cost-effective installation methods that align with industry standards and client expectations.
Introduction
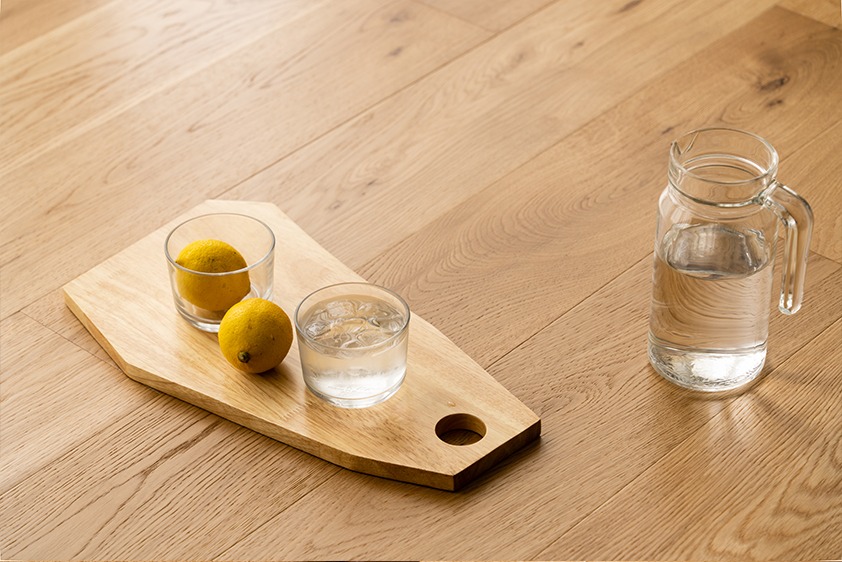
- Hook: As a flooring manufacturer with 15+ years in the industry, I’ve designed, tested, and installed hundreds ofengineered wood flooring projects—including DIY jobs for builders like you, covering popular options like oak engineered flooring and black walnut engineered flooring. Today, I’m breaking down my latest DIY installation (a 1,200 sq. ft. residential renovation) to show you how to cut labor costs, avoid common pitfalls, and deliver results that match professional standards.
- Relevance to Builders: Why DIY installation matters for your business: reduce reliance on external contractors, speed up project timelines, and offer clients transparent, cost-saving options (without sacrificing quality).
- The “Manufacturer Difference”: Unlike generic DIY guides, this outline is rooted in how we design engineered wood flooring—so you’ll learn tips tailored to the material’s structure, durability, and installation requirements (straight from the source).
- The Project Overview: Brief details (residential renovation, 1,200 sq. ft., mixed high-traffic areas + bedrooms) to set context for the steps ahead.
Section 1: Pre-Installation Prep
1.1 Choose the Right Engineered Wood Flooring
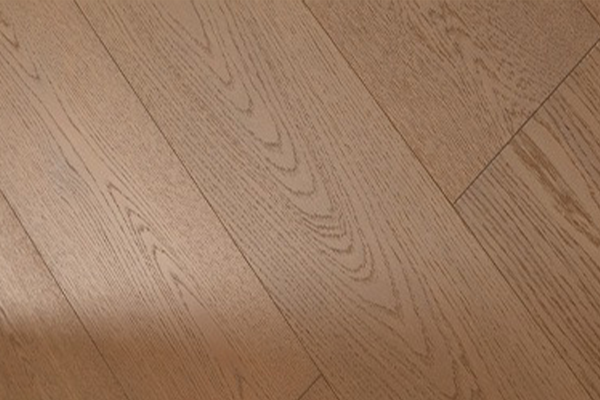
- As a manufacturer: How we design engineered wood flooring (including oak engineered flooring and black walnut engineered flooring) for DIY compatibility (tongue-and-groove locking systems, pre-finished surfaces, thickness options).
- Builder-Focused Tips: Selecting the right core (plywood vs. HDF) based on the project’s environment (moisture levels, subfloor type—concrete vs. wood).
- Pro Tip: Avoid budget traps—we’ll share which engineered wood flooring grades (including grades for oak engineered flooring and black walnut engineered flooring) are best for high-traffic client projects (and which to skip to save costs without cutting quality).
1.2 Subfloor Preparation
- Manufacturer’s Warning: 80% of installation failures stem from poor subfloor prep—here’s how to avoid that (from our quality control team’s findings).
- Step-by-Step Prep for Builders: Clean, level, and moisture-test the subfloor (tools we recommend, acceptable moisture levels, and quick fixes for minor issues).
- Time-Saving Hack: How to use our pre-cut underlayment (designed to pair with our engineered wood) to cut prep time by 30%.
1.3 Acclimation
- Why acclimation matters: How engineered wood flooring—whether oak engineered flooring, black walnut engineered flooring, or other varieties—expands/contracts (we’ll explain the science behind our product’s construction).
- Builder-Friendly Acclimation Timeline: How long to let the flooring acclimate (varies by climate—we’ll share guidelines for hot, humid, and dry regions).
- Common Mistake to Avoid: Rushing acclimation (we’ll share a real example of a builder’s project that failed because of this—and how to fix it).
Section 2: Tools & Materials
- Essential Tools (From Our Installation Team): The exact tools we use in our factory demos (circular saw, miter saw, tapping block, spacers, moisture meter)—and which budget-friendly alternatives work just as well for builders.
- Materials You’ll Need (Beyond the Flooring): Underlayment (our top pick for noise reduction and moisture protection), transition strips, adhesive (if needed—we’ll clarify when glue-down vs. floating is better), and vapor barriers (for concrete subfloors).
- Cost-Saving Tip: How to order the right amount of flooring (we recommend 5-10% extra—here’s why, from a manufacturer’s inventory perspective) to avoid waste and last-minute reorders.
Section 3: Step-by-Step DIY Installation
3.1 Layout & First Row (The Foundation of a Straight Floor)
- Builder’s Trick: How to layout the flooring to minimize waste (we’ll share our factory’s “staggered row” method for a professional look).
- Installing the First Row: Using spacers for expansion gaps (critical—we’ll explain how our engineered wood’s edge design requires specific gap sizes).
- Pro Tip: How to handle uneven walls (common in older homes) without compromising the floor’s straightness.
3.2 Installing Subsequent Rows (Locking System Mastery)
- As a manufacturer: How our tongue-and-groove locking system works for all our engineered wood flooring products (including oak engineered flooring and black walnut engineered flooring) (and how to avoid damaging the locks during installation).
- Step-by-Step: Tapping planks into place, ensuring a tight fit, and avoiding gaps (we’ll share a hack to fix minor gaps without removing planks).
- Handling Obstacles: How to cut planks around doorways, vents, and columns (tools and techniques from our installation experts).
3.3 Final Row & Transition Strips
- Cutting the Final Row: How to measure and cut planks to fit (avoiding common mistakes that ruin the final look).
- Installing Transition Strips: Which strips to use (based on the project’s layout—we’ll share our top recommendations for builders) and how to install them for a seamless finish.
- Cleanup: Manufacturer’s tip: How to remove excess adhesive (if used) and clean the floor without damaging the pre-finished surface.
Section 4: Post-Installation Care & Quality Checks
- Immediate Post-Installation Checks: What to inspect (gaps, uneven planks, lock tightness) to ensure the floor meets our manufacturer standards (and your client’s expectations).
- Client Care Instructions (From the Manufacturer): How to advise clients on short-term care (avoiding heavy furniture for 24-48 hours) and long-term maintenance (cleaning products we recommend, avoiding moisture damage).
- Warranty Tips: As a manufacturer, we’ll explain how proper DIY installation affects the flooring’s warranty (critical for builders to protect their business).
Section 5: Manufacturer’s Insights for Builders
- Cost Savings: How DIY installation can reduce labor costs by 40-50% (we’ll share real numbers from our builder partners).
- Quality Control: As a manufacturer, we trust builders who use our DIY methods—here’s how proper installation protects your reputation and reduces call-backs.
- Competitive Edge: Offering DIY-installed engineered wood flooring as an option can help you stand out to budget-conscious clients (without sacrificing quality).
Conclusion
- Recap: Key takeaways from a manufacturer’s DIY installation (prep, tools, process, care) and how they apply to your builder business.
- Encouragement: As a flooring manufacturer, we’re here to support you—whether you need product recommendations, installation support, or bulk pricing for your projects.
- Call to Action: Reach out to our builder support team for custom engineered wood flooring solutions, free samples, or personalized installation advice.
Common DIY Installation Mistakes And How to Fix Them
- Mistake 1: Skipping moisture testing (manufacturer’s fix: how to use a moisture meter and adjust for high moisture levels).
- Mistake 2: Improper expansion gaps (fix: how to measure and adjust gaps for different climates).
- Mistake 3: Damaging locking systems (fix: our factory-approved method for tapping planks without breaking locks).